
Arnhem Bridge in depth: how a force holding only the north end blocked the crossing
· 1944-09-17 – 1944-09-21
In-depth part 2 · preview; full text with Individual Plus
This analysis is for education and research. Content on ongoing wars may change as new information emerges. We label claims separately from confirmed facts.
Command this battle yourself← Part 1 overviewArnhem Bridge (1944): how a battalion without the south end still blocked the crossingHow the decision points in this analysis are adjudicated → · Glossary
Overview
Part 1: Arnhem Bridge (1944) gave the main course of events and four decisions; this piece goes inside the few hundred metres around the ramp. The force gathered around 2nd Parachute Battalion never held the south end and never occupied the span [1][3]. Even so, for nearly three days the Germans could not use this bridge freely as a reinforcement route [4][13]. The question here is what made that possible, and how far it went. We follow the training scenario's 13 real phases and six what-if phases in turn, then test the action against doctrinal task definitions and the disagreements in the record.
Strategic and Operational Context
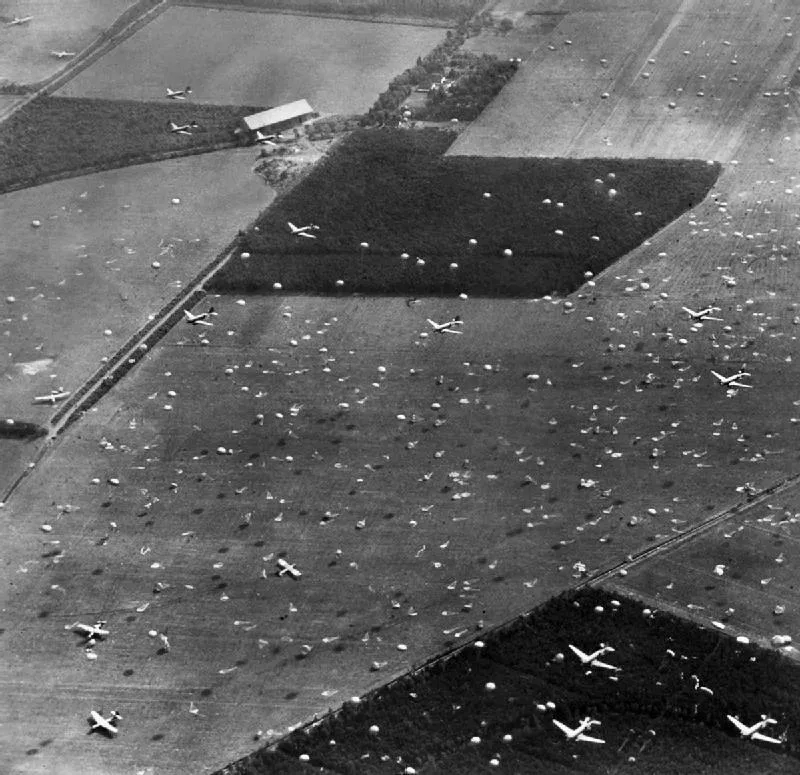
1st Airborne Division was to take the road, railway and pontoon bridges at Arnhem and hold them until XXX Corps arrived. Accounts differ on how long that was expected to take. The commanding officer recalled that the ground forces were due at lunchtime the next day, while the 2nd Battalion account says 48 hours [1][12]. The airlift was spread over three days. On the third, the Polish brigade was to drop on DZ K, about 1.5 km south of the road bridge, and take the bridge itself if it was still in German hands [2]. In effect the plan had deferred the south end to the third day.
The battalion's tasks ran in order: railway bridge, pontoon bridge, road bridge. C Company was to cross the railway bridge and follow the south bank to the south end of the road bridge [3][12]. It was the only means of attacking from both banks at once. Before the operation the commanding officer had pointed out that a bridge is a narrow defile, and that with troops on one side only, the enemy on the other can bring fire to bear on all its approaches [1]. The US official history records that the division wanted to land on both banks, but settled otherwise because of flak, the town and soft ground cut up by dykes to the south [13].
For the Germans, the bridge's value lay to the south at Nijmegen. II SS Panzer Corps meant to send 10th SS Panzer Division to defend it and, with the north end blocked, had to ferry it across [4][13]. This is where the north-end force had its effect on the campaign. The British took the Nijmegen bridge on the evening of the 20th [11].
Terrain and Weather in Detail (OAKOC)
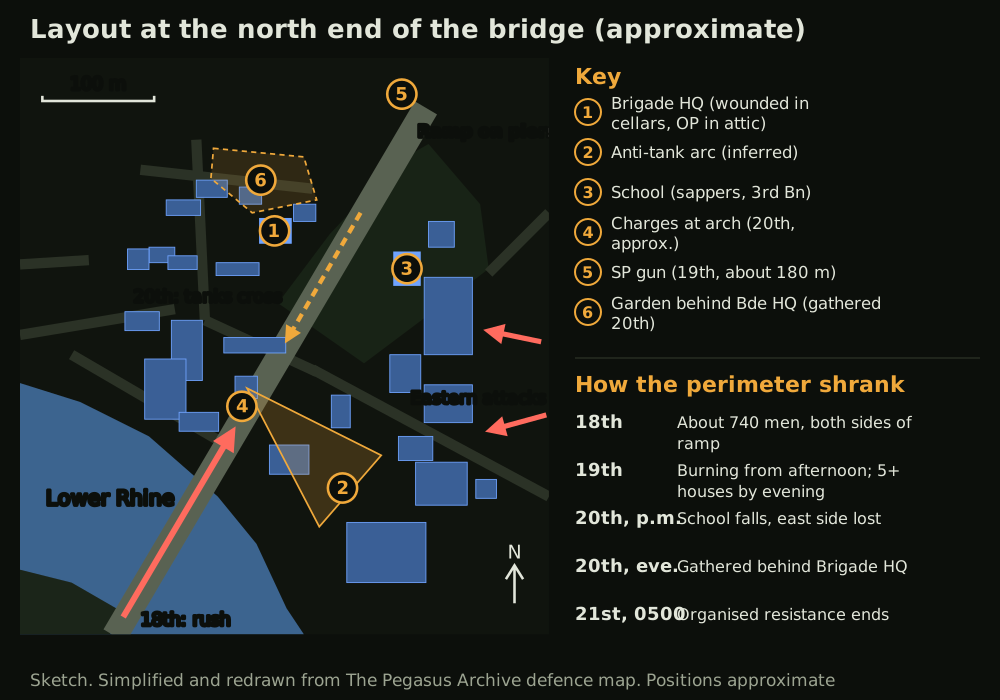
Observation and fields of fire (O). The buildings either side of the ramp could see vehicles coming off the span from the side and above. The gunner observation post was in the attic of Brigade HQ [9]. The south end was hard to see, and with a fight on the span, the only place left for artillery was the approach beyond it. When the column came onto the bridge the observer checked fire so as not to damage it [9]. Here the mission itself narrowed the field of fire.
Avenues of approach (A). Infantry could come along the eastern river road, from the town to the north and from the market square to the west. Vehicles from the south had only the bridge. Relief from the west could use the river road or the Utrecht road, and after the 18th both were blocked [4]. The axis the reconnaissance battalion chose on the 18th was the fastest available and the most exposed.
Key terrain (K). The key ground was less the bridge itself than the ramp and the buildings above it. Elevation data give about 21 m around Den Brink, about 15 m for the town at the north end, and about 10–14 m for the river meadows and polder to the south [18]. The height difference at Den Brink is small, yet it could fire on both road and railway, and it held the battalion's rear until dark [3].
Obstacles (O). The river was about 180–370 m wide [13], and the centre of the pontoon bridge was missing. The railway bridge had been blown, and the battalion found no boats on the north bank [1][3][12]. On the morning of the 18th the burnt lorries and mines on the bridge were expected to serve as an obstacle, but once the fires had died down armoured cars passed through a gap, and only one mine went off [1].
Cover and concealment (C). The buildings offered cover and were also targets. The men smashed windows and threw out anything that would burn [1]. The Germans went for that weakness with high explosive and phosphorus [5][9]. Until the 19th the men could move from building to building, but on the 20th snipers and machine guns cut the links between them [6].
Weather and light. New moon fell at 12:37 UT on 17 September [19]. On the time zone of the British orders (UTC+1), sunset on the 17th was at about 1844, sunrise on the 18th at about 0616 and sunset on the 20th at about 1837 (own calculation) [18]. ERA5 reanalysis gives daytime highs of about 17–20 °C on the 17th–20th, with a little rain on the 17th and 18th. But the 1944 grid is coarse, and it does not match the commanding officer's memory of light rain at times on the night of the 19th [1][18]. Fire undid the darkness. Although the nights were moonless, the blazing bridge on the 17th and the burning town on the 19th lit the streets like daylight and made night movement and patrols difficult [1][5].
The full in-depth analysis is part of Individual Plus.
Terrain in detail, the hour-by-hour course, every decision point, doctrine and source criticism follow. Part 1 columns stay free.
See plans